I saw this once on one of my gaffer friends’ Instagrams, and me being who I am, I said “I can make that.” I needed a no-power solution for really bright days that wouldn’t look super source-y. This gives a natural feel because it’s closer to real reflections you’d encounter outside (a little water here, some shiny sidewalk there, etc).
These things are about $800. I love the idea of making my own because I can do it exactly how I want, though.
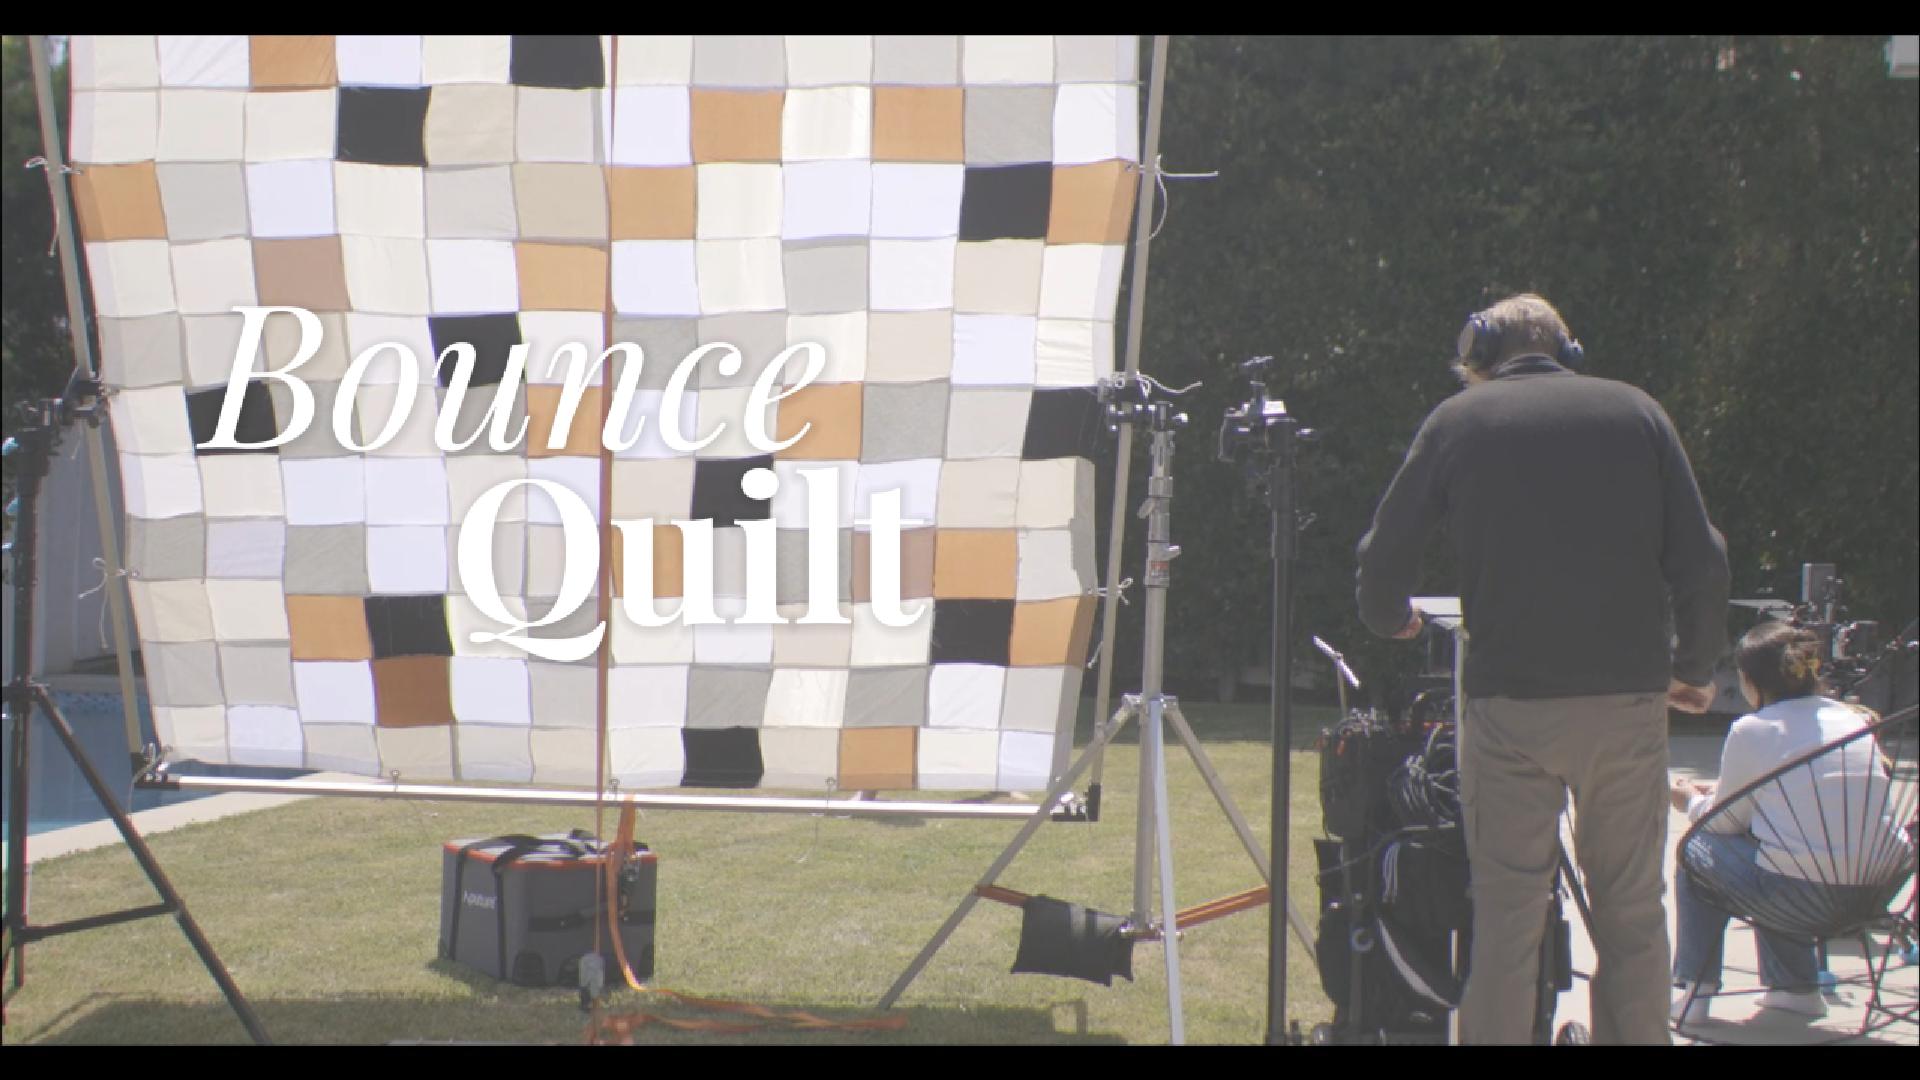
DYI Reflector Quilt Checked Rag
Materials needed: (Note: this assumes that you already have an 8′ frame, I have a Matthews’ Snap-A-Part frame)
– reflective/shiny cloth that mimics the environment you’ll be in (I had a bunch of scraps, but you’ll probably need about a yard or two of at least 5 different fabrics).
– 2″ white nylon webbing
– thread for the machine
– 1/2 metal grommets (it helps to get the kit unless you have a grommet tool at home already)
Tools needed:
– sewing machine
– hammer (for grommets)
Video: (Detailed steps below that)
1. Cut out 144 8.5″ squares. (Hint: a piece of regular printer paper is 8.5″ on the short side, so if you triangle it you can cut an exact square the exact size you need and use it as a template to cut the rest of your squares). I just did this to make it easy to make it the right size. Use math to figure out the right size for your frame. REMEMBER TO ALLOW FOR SEAM ALLOWANCE. They won’t just fit together magically, and I did a 1/4″ seam allowance on all sides (hence the 8 AND 1/2, not just 8″).
2. Sew the squares together. I did one long running seam to sew a bunch of them together into 2s first, then kept building up the rows until they were 12 in a row, then sewed those rows together. That’s the quickest way. Make sure you backstitch at the beginning and end to help keep it together stronger.
3. Sew on the nylon webbing. I folded my edges over before doing the outer seam just so it would be neat and tidy, then did a safety seam on the inside. This strengthens the rag and allows you to yank it tight.
4. Cut holes and insert the grommets. It’s better to cut the holes a little too small than to cut them too big. See the video for how I did mine. This takes practice, but is totally doable. If you have extra grommets, might want to practice the holes and hammering of the grommets on a scrap.
5. DONE!!